The video tutorial below guides you through the best practices of applying your stickers so they can be accurately read by the shelf sensors.
NOTE: the stickers in the video may not look identical to the ones you have, but the principles are the same.
Best Practices Summary
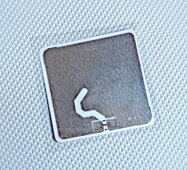
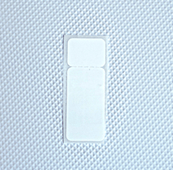
1. Select the appropriate sticker type:| Plastic Packaging | Metal Packaging | Microwaveable |
 |
 |
 |
|
Products with plastic packaging that are eaten cold
|
Products with metal packagingthat are eaten cold
|
Products that will be warmed up in a microwave
|
2. Use sturdy packaging to house your products, like a box or clamshell, and avoid using flimsy bags or plastic wrap.
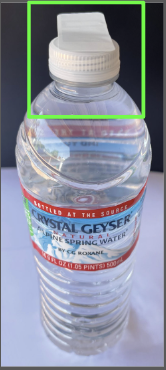
3. Place the sticker high on the package so it can be picked up by the sensor above it. There should be about 4 inches of space between the sticker and the bottom or the shelf above it:
4. Position the product so the bottom of the shelf above it has a direct “line of sight” to the sticker. Do NOT stack products on top of each other.

5. Alternate sticker placement on smaller items to give each antenna ample space to be differentiated:

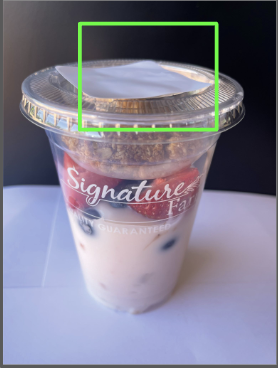
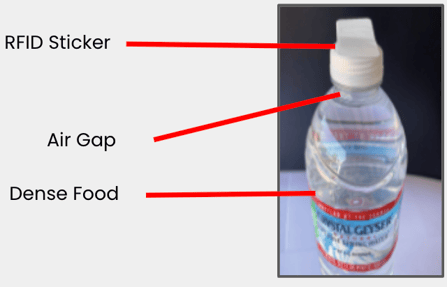
6. Leave a Gap Liquids and dense foods like potato salad, for example, are water-based. Water interferes with radio signals. Place the sticker where there is an air gap between the packaging and the product.
7. Hide the RFID stickers. If possible, cover the RFID sticker with your own label, making it difficult to remove. Our FDA-approved smart stickers can also be applied inside the packaging. This will make for a cleaner look and prevent customers from removing the sticker. Whenever you try a new sticker application method , test the readability with each product type by scanning it and stocking into you microstore to see if it is read. Speaking of scanning and stocking, we'll get to this next!
